
YarpBot Twitch Extenison
The YarpBot Twitch Extension offers a powerful and easy way to use YarpBot both in chat and on your Twitch Channel's page.
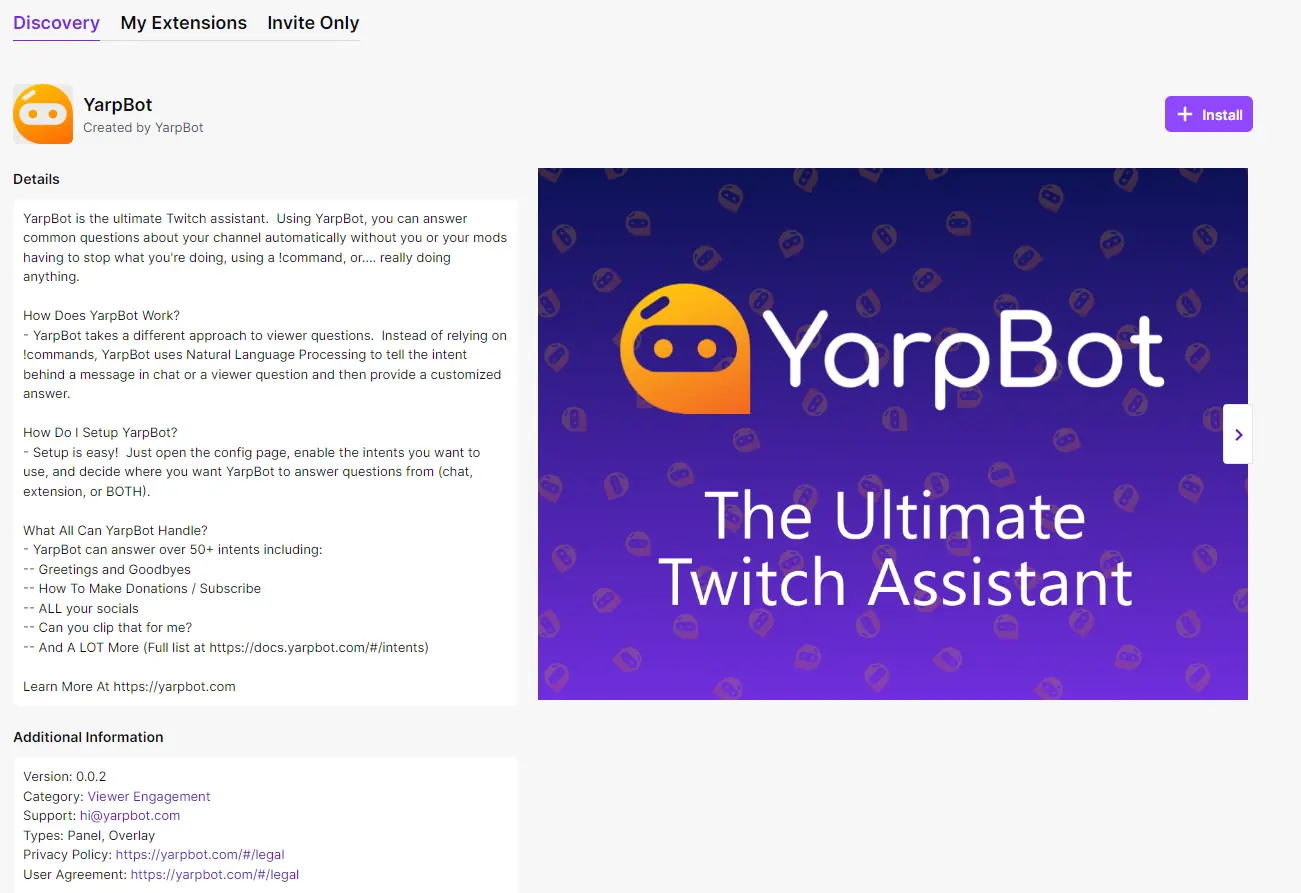
Installing The Extension
To install the extension, go to the extension's listing page on Twitch and click Install.
Twitch will then ask you if you want to configure the extension.
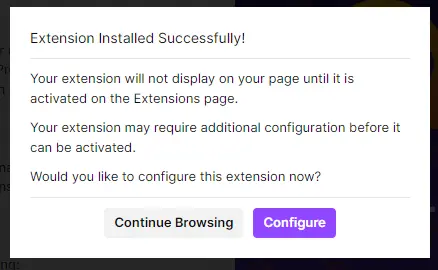
Don't forget to Activate the extension so it shows up on your channel page!
Activating The Extension
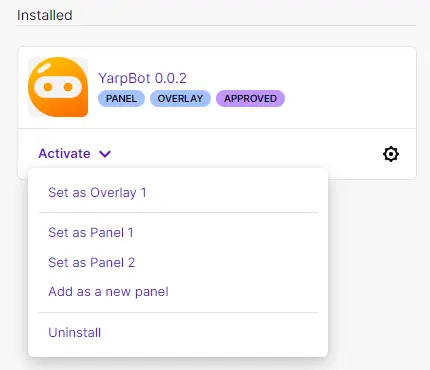
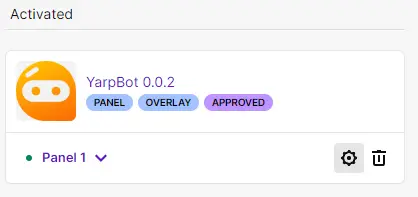
From your My Extensions page in the Creator Dashboard, YarpBot should now be listed as one of your installed extensions.
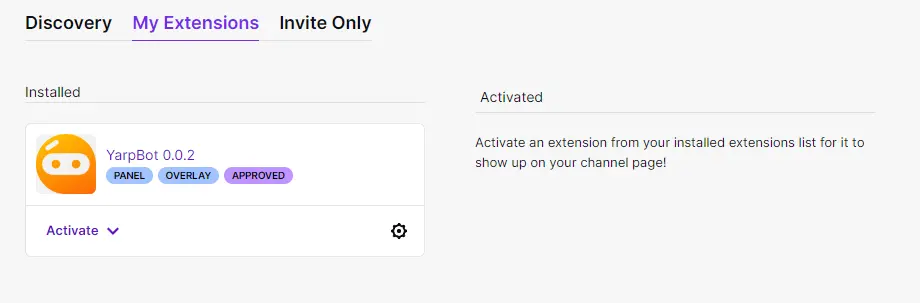
You can now click the Activate dropdown and select if you want to install YarpBot as an Overlay Extension or a Panel Extension.
Twitch only lets you install an extension in 1 place so you must choose 1.
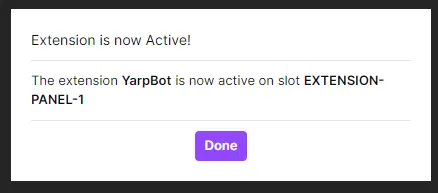
Selecting one will then show it as active.
Extension Types
You can install the extension as an Overlay or Panel. Both extensions offer the same capabilities and only differ in how they are presented to the viewer.
Overlay
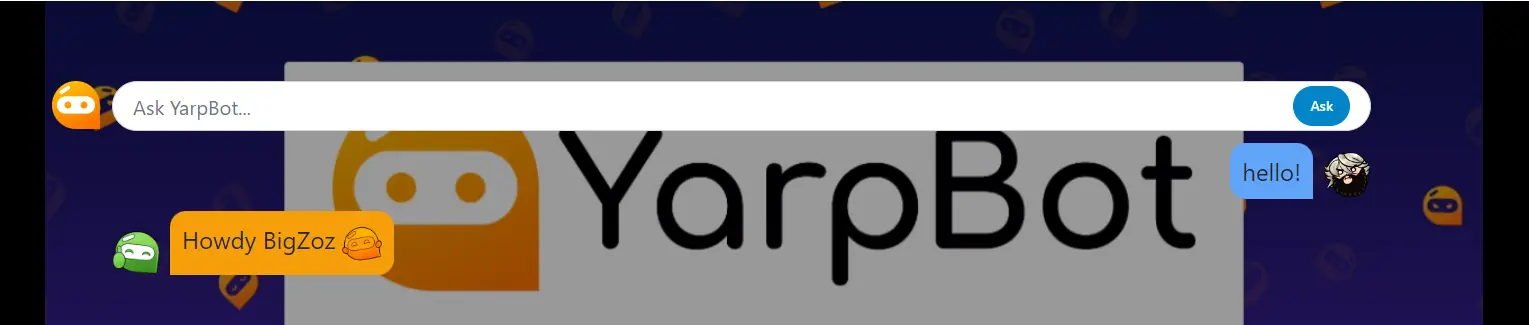
The Overlay is presented on top of the channel's stream. When the user loads the channel, all that will be shown is a semi-transparent YarpBot icon that will animate every so often.
Clicking this button will show the rest of the extension's interface.

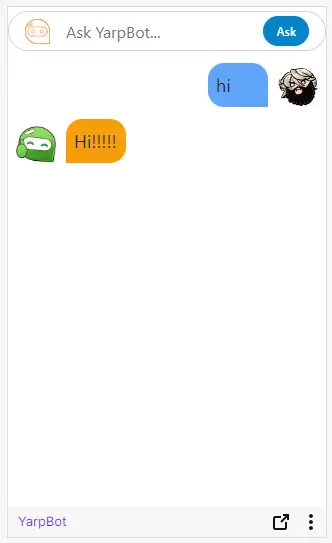
From here a viewer is free to start talking to YarpBot.
Panel
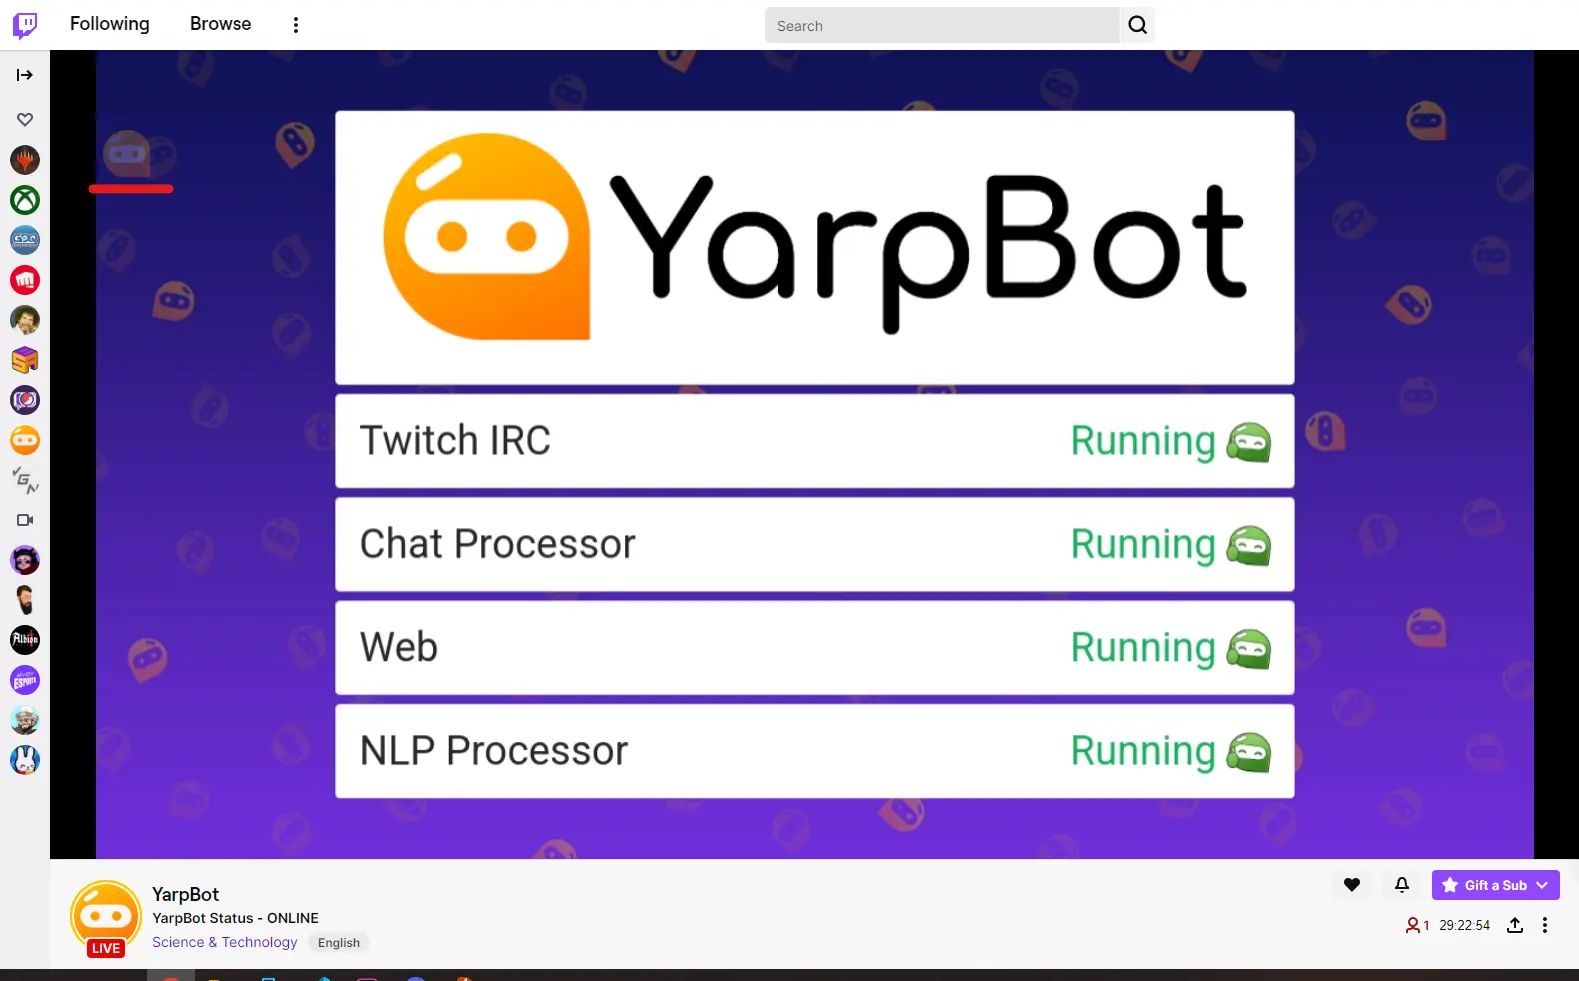
The panel extension shows as a panel on the channel page, below the stream when the chanel is live and in the About section when the channel is not live.
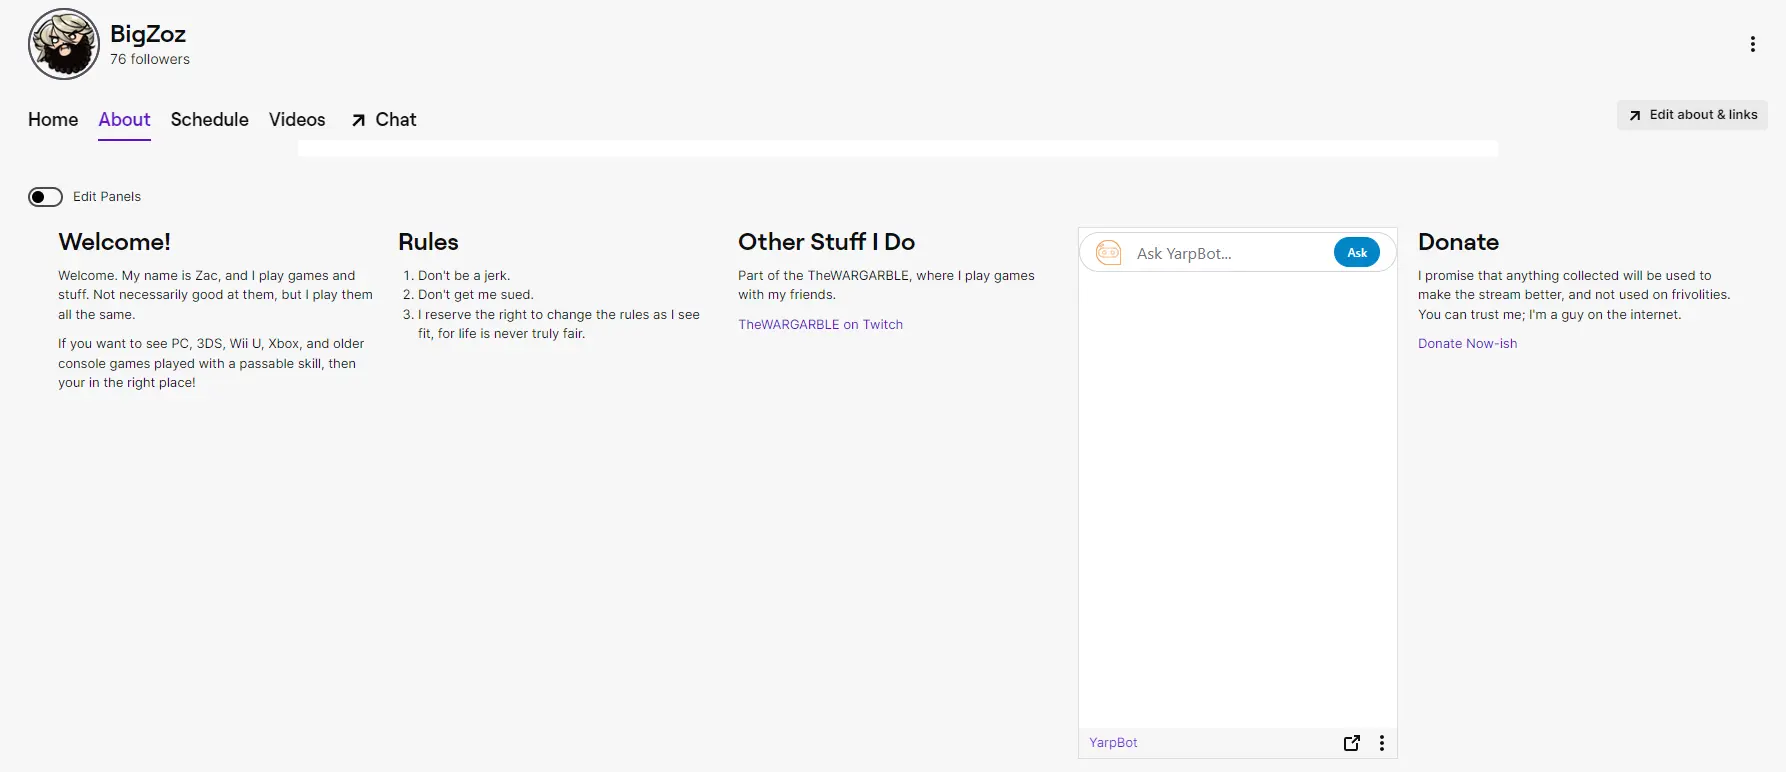
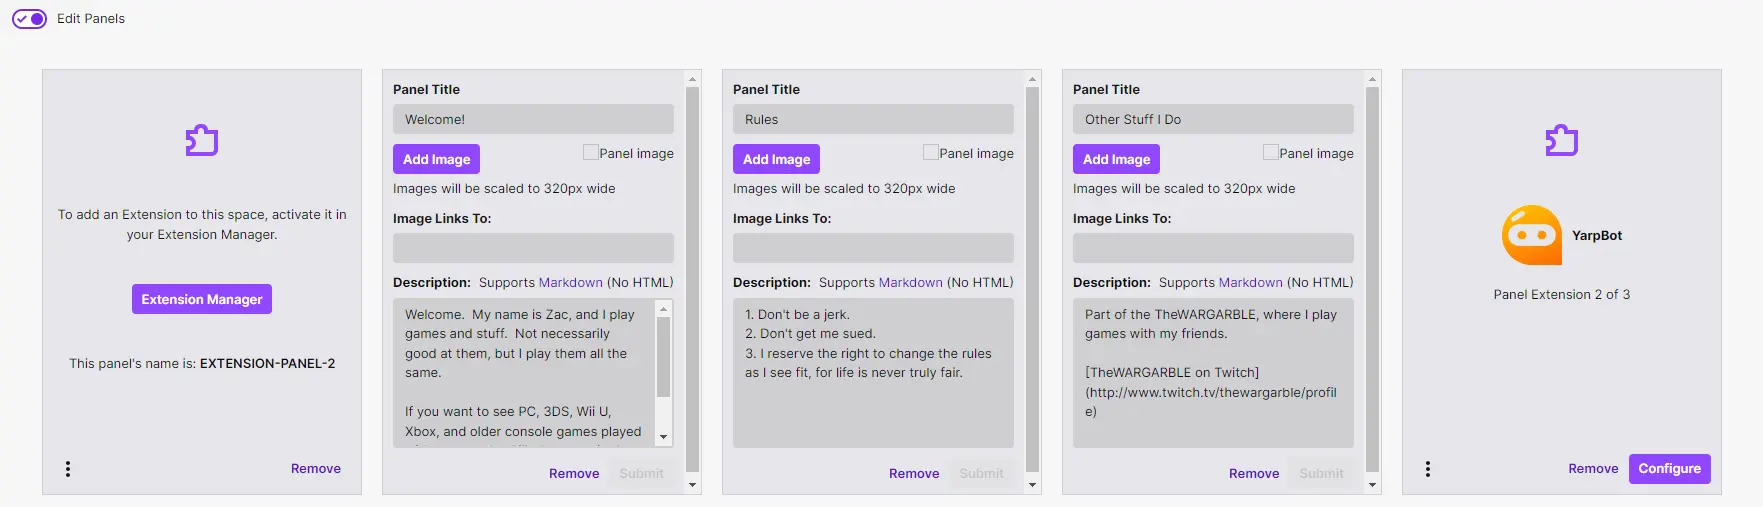
The location of the panel can be changed using the Edit Panel mode available to channel owners.
From the YarpBot panel, viewers are free to interact with YarpBot and ask it queries.
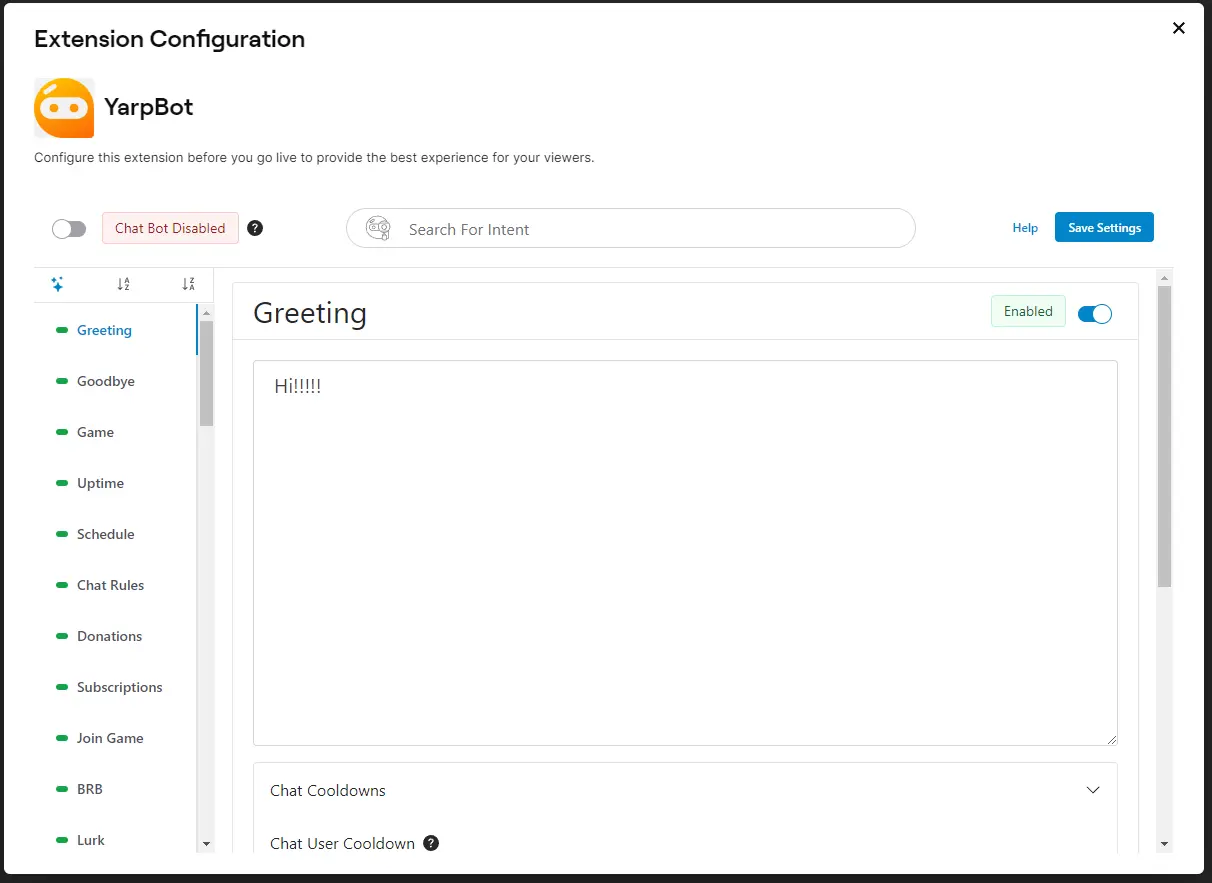
Configuring The Extension
To configure the extension, click the Gear icon on YarpBot's listing on the My Extensions page.
Configuring the extension presents a similar experience to configuring intents for yarpbot.com
Settings between the YarpBot Extension and yarpbot.com are synchronized, so you don't have to enter everything twice!
From here you are able to:
- Enable and Disable YarpBot in your Chat
- Enable and Disable specific Intents in your Chat
- Set the response for YarpBot for each Intent
Configuring Chat Bot
In addition to being able to answer queries in the Overlay and Panel, YarpBot can also be deployed to your chat just like on yarpbot.com. To enable or disable this, use the toggle on the top left of the page.

If also using yarpbot.com, this will be synced with your setting there.
Configuring Intents
Intents are the subject that YarpBot can respond to. When configuring YarpBot, you can configure as many or as few intents as you wish. To configure an Intent on Desktop, select an Intent from the list of intents on the left side.
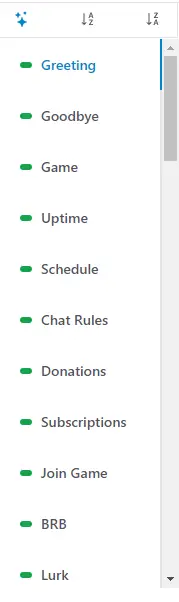
The indicator to the left of the Intent name shows if an Intent is enabled (green) or disabled (red). In addition, by hovering over an Intent, a tooltip will appear with a description of what that Intent does.

You can also use the Intent Search box to filter the list of intents based on their name.

Once selected, the Intent will be ready to configure.
Enabling And Disabling Intents
The first step in configuring an Intent is to Enable or Disable it. To set this, use the toggle on the top right of the Intent's card.

This will tell YarpBot to respond or not respond to this Intent.
Setting A Response
Once enabled, YarpBot needs to know what to say when an Intent is observed. To set this, enter text in the Intent Response box.

This can be a combination of Text, Emotes, and Variables.
Emotes
YarpBot can use emotes from The Global Twitch Emote List, Your Channel, and YarpBot's Channel.
Variables
Each Intent has one or more Variables that can be used in responses. These Variables will dynamically be converted to the proper value when YarpBot responds. To see the list of Variables, open the Variables section of the Intent card.

Variables will always be in the format of {{variableName}} and will vary per Intent.
Cooldowns
YarpBot also allows you to set Cooldowns on a per-Intent basis. To set cooldowns, use the Cooldowns section of the Intent card.
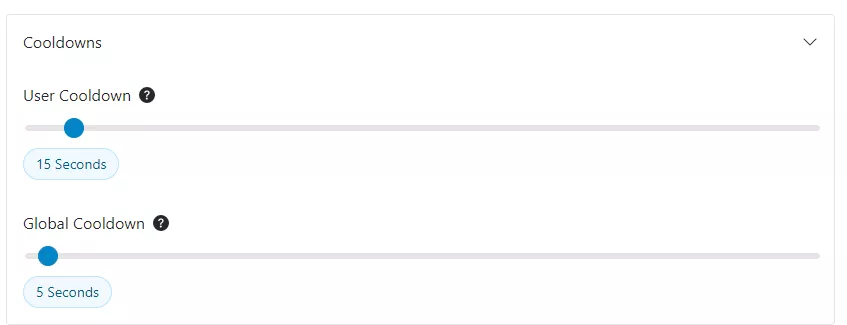
User Cooldown represents how often an individual user in Chat can trigger an Intent.
Global Cooldown represents how often any user in Chat can trigger an Intent.
Cooldowns can be set to any value between 0 seconds and 300 seconds, and only apply to responses in chat. Responses via the Panel and Overlay are not effected.
Intent Details
At the bottom of the Intent card there will be a description of the Intent so you know what exactly the Intent is looking for.

For Intents that are only available when a stream is live, this will also be mentioned here.

Saving Your Settings
After configuring your settings, don't forget to SAVE! To save your settings, click the Save Settings button on the top right corner of the Dashboard.

Seriously, don't forget.
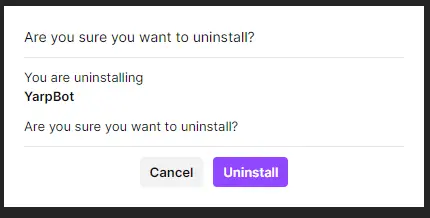
Uninstalling The Extension
To uninstall the extension, navigate to your My Extensions page and select Uninstall from the extension location selector.
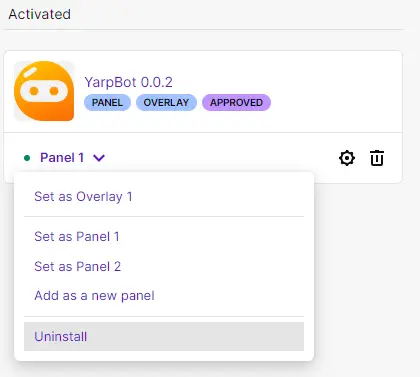
Twitch will then ask you to confirm.